Windows Git Installation
A version control system is fundamental to the work of anyone developing software, whether it be scientific software or not. This is one of the fundamental tools upon which one’s daily programming work should be built. It should be so familiar that one doesn’t really notice that it’s there. In other words, it’s a really Good IdeaTM to use it.
Git is an excellent version control system, which can be used on Linux, Mac and Windows. For Linux users, installation is very simple: merely install it using your package manager. On Windows, this process is a bit more involved. Therefore I thought I’d write a guide on how to get Git (specifically, TortoiseGit) running on Windows.
I chose TortoiseGit because it has very good integration with Windows Explorer and many people may already be familiar with the other popular tools TortoiseSVN and TortoiseCVS.
This guide will show you a way to install Git on Windows that I’ve found useful; there are other paths one could take, however this has proven effective for the Windows users I support.
The guide is split into four parts:
- Installing Git (this provides the Git version control system).
- Installing TortoiseGit (this allows one to use Git in a manner familiar to Windows users via a Windows Explorer context menu).
- Installing PuTTY (this enables a secure internet connection, when you use Git with a remote server such as GitHub or Bitbucket).
- Using Git and TortoiseGit (quick notes about making your own local repository and how to clone a remote repository).
Installing Git
The first ingredient we need is of course Git! Go to http://git-scm.com/download/win/ and download the latest version.
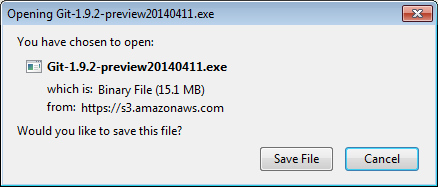
From the desktop (or the Downloads folder, or wherever your downloaded
files normally end up) double click on the file Git-<version_info>.exe;
this starts the installation process. The “Git Setup Wizard” window should
now appear.
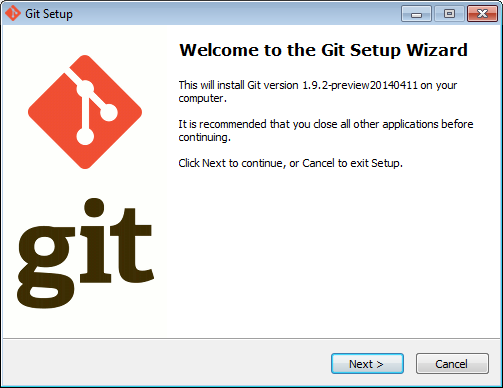
Click on Next to start the installation process.
A message about the Gnu Public License now appears:
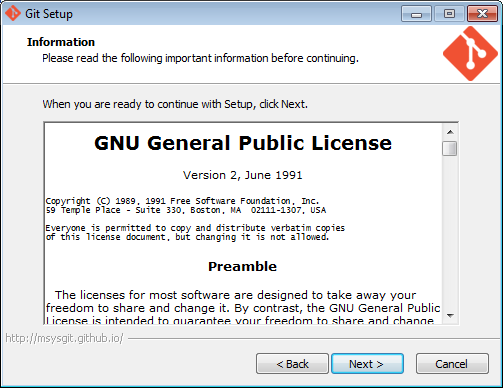
To continue with the installation, click on Next.
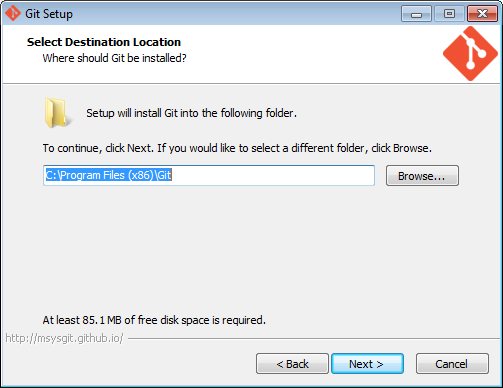
The following window shows the default installation destination; this value
should be good enough. Click on Next.
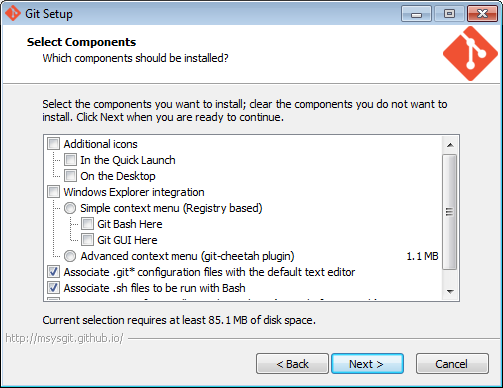
The Select components window now appears. Make sure to uncheck the
Windows Explorer integration option – TortoiseGit (installed later)
provides better functionality and integrates nicely into Windows Explorer;
keeping this option around would merely clutter up the Windows context menu.
The rest of the defaults should be good enough; click on Next.
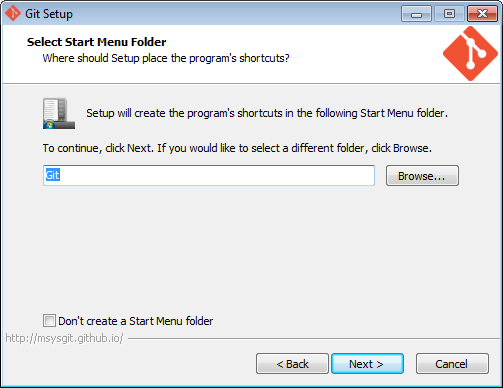
The Start Menu folder location should also be OK: click on Next.
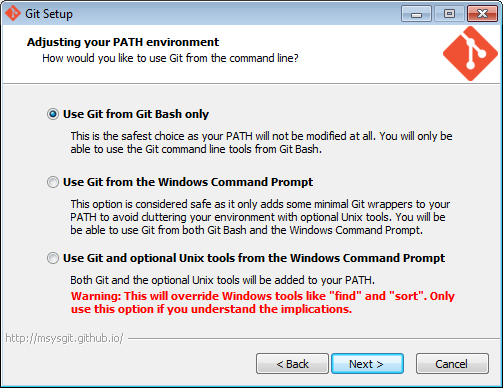
A window will appear to ask how the PATH environment should be adjusted
(if you don’t know what a PATH environment variable is, don’t worry, just
choose the default value). The Use Git from Git Bash only option is good
for most needs and is the default, so simply click on Next.
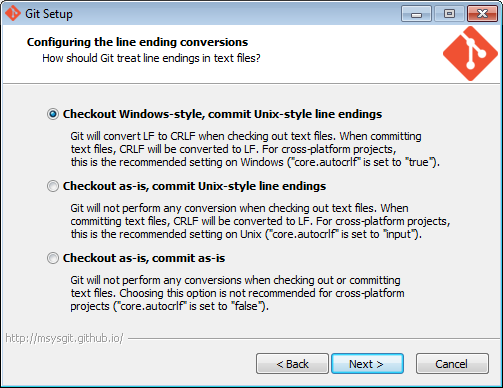
The next window sets up the line endings settings for Git (Windows uses a
different character to denote the end of a line of text than that used in
the Linux/Unix/Mac world, hence this setting is necessary); the default
setting should be Checkout Windows-style, commit Unix-style. This is
recommended for Windows users and hence we will use this setting here.
Click on Next to continue.
Now the installation takes place. The completed Git setup window should now
appear. Click on Finish to complete the installation.
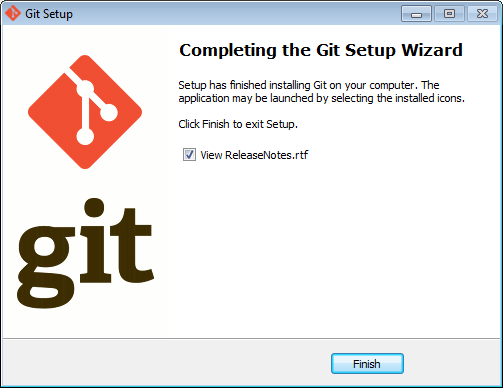
Congratulations, Git has been installed on your computer!
There exists a command-line interface to Git with Linux-like commands for those who prefer such things. However, using TortoiseGit is much easier, since it is tightly integrated with the Windows Explorer and hence the interaction with Git is more natural for someone more familiar with Windows and graphical user interfaces.
Installing TortoiseGit
The TortoiseGit program creates a context menu in Windows Explorer and provides easy access to Git-related operations for the vast majority of use cases.
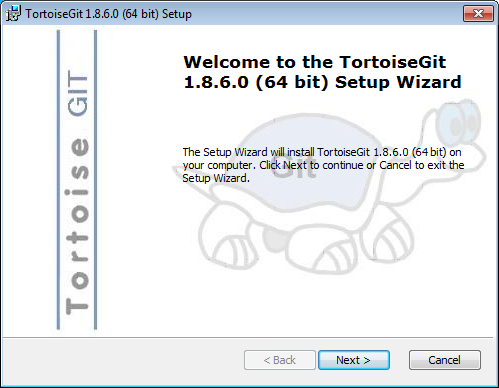
Let’s now install TortoiseGit. The installer is available from http://code.google.com/p/tortoisegit/. Download this file and double click on the installer icon to start the installation process.
When the welcome screen appears, simply click on Next.
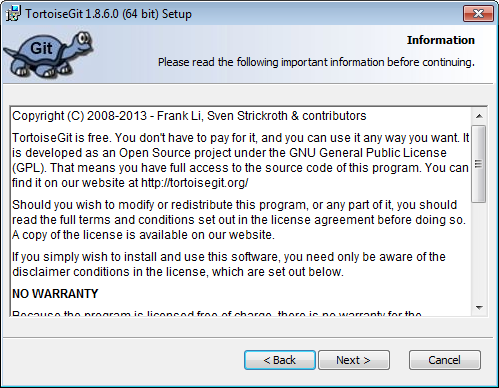
The license agreement window appears. If you agree with the license
agreement, click on Next.
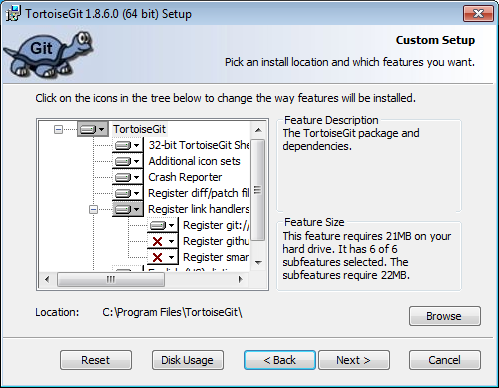
The following window describes the components that are to be installed. The
defaults are OK, so just click on Next to continue.
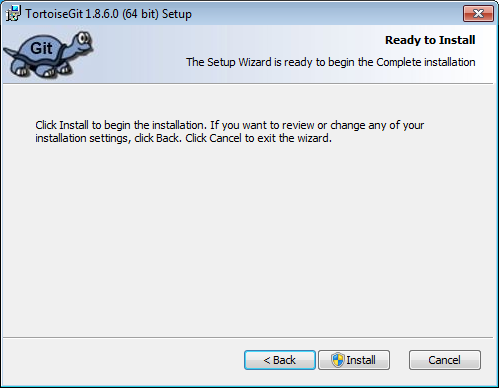
The setup program now tells us that the program is ready to install. Click
on Install to start the actual installation.
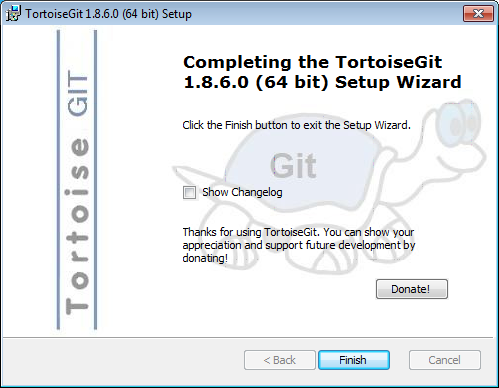
Windows will probably ask you if you really want to install this, just tell Windows that, yes, you really do want to install the software and eventually the following window should appear:
We’re not yet finished though! In order to use TortoiseGit with a remote Git server, we need to install and configure PuTTY.
Installing PuTTY
TortoiseGit uses part of PuTTY (an SSH client for Windows) for its network
communication. In order to have the advantages of SSH
passphrases, we need to install
the complete PuTTY package. On the PuTTY download
page
select the file called putty-<version_number>-installer.exe (this is the
one marked as A Windows installer for everything except PuTTYtel).
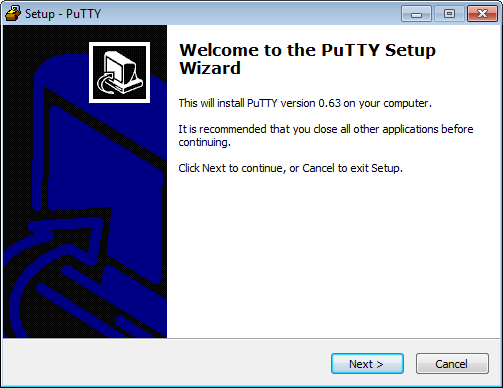
After double-clicking on the downloaded .exe file you should see the
setup wizard’s welcome screen. Click on Next to start the setup
process.
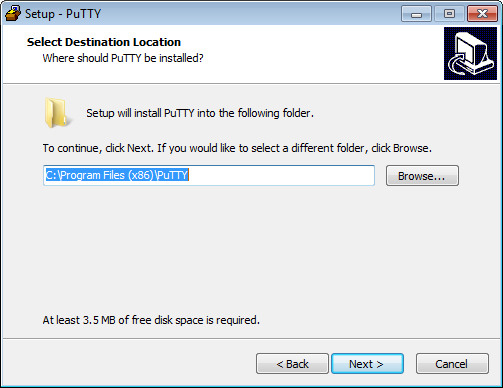
The next window asks where you wish to install PuTTY; just use the default
value and click on Next.
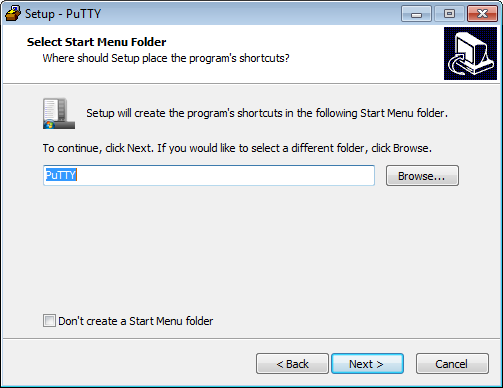
The default location for the start menu folder is also good, so just click
on Next again.
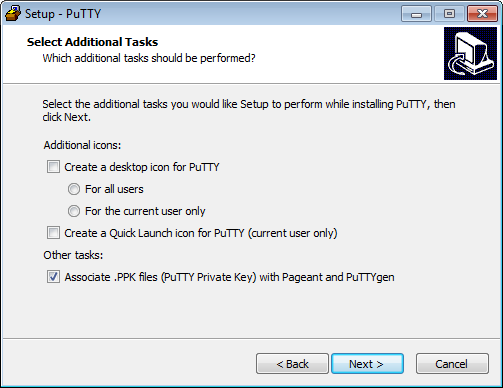
The default values for the “Select Additional Tasks” window are good for
most cases, so accept these by clicking on Next.
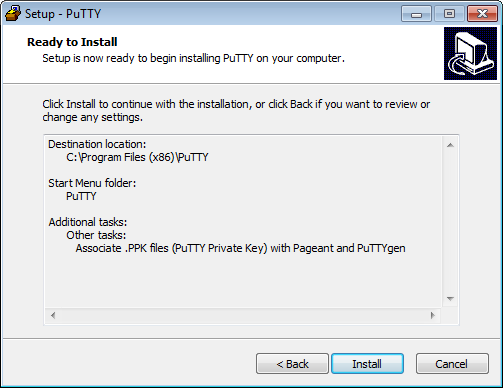
The following window simply summarises the installation tasks which are
about to take place. Now we can finally install the software by clicking on
Install.
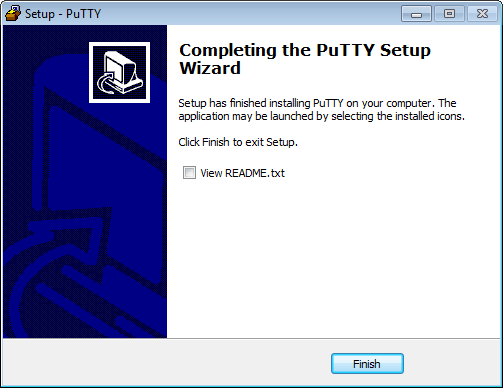
When PuTTY is installed, the setup wizard should show you a window that the
installation has been completed. Click on Finish to exit the setup
program.
Now we need to set up the SSH keys so that we can connect to a remote Git server such as GitHub or Bitbucket. But first, some information about SSH keys.
Using SSH Keys
SSH (the Secure Shell) is a secure way to connect to remote computers. Communication with the repositories on most Git servers takes place via SSH.
SSH passphrases
The best way to set up SSH communication is by using a passphrase. This is like a long version of a password, except one can make it a sentence, which is known only to oneself, and is usually much easier to remember than a cryptic password with fewer characters. One example might be:
Mary had a little lamb, its fleece was white as snow.
Note that whitespace and punctuation are allowed in a passphrase. The passphrase then keeps your private key safe in case someone breaks in to your computer and steals it; they can’t set up communication with your other servers without also knowing the passphrase.
Generate the SSH keys
We now need to create SSH keys so that we can communicate with the remote server.
Generating SSH keys in PuTTY is quite different to that on Linux/Unix systems (i.e. by using the OpenSSH software), however, it works which is the main thing. Let’s now set up and save a passphrase-protected set of SSH keys in PuTTY.
Select PuTTYgen from the Windows start menu (All Programs -> PuTTY ->
PuTTYgen). The following window should appear:
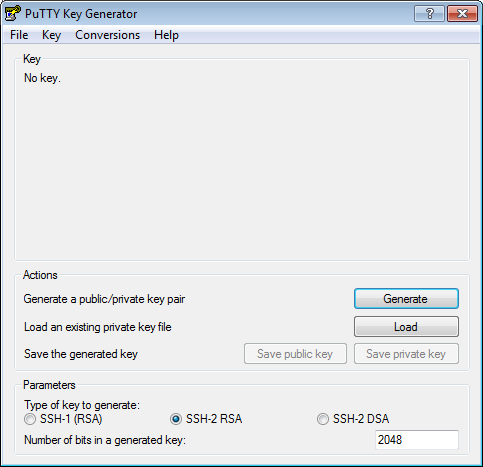
Click on the Generate button to generate a public/private key pair. Move
the mouse around over the empty region in the window to generate randomness
for your SSH key (this is important! Otherwise the key generation process
won’t progress and you won’t generate a key!).
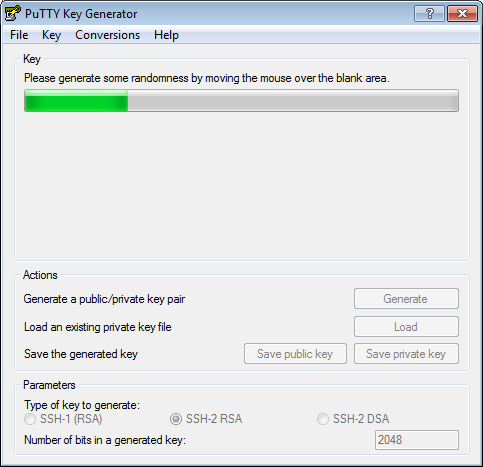
After the key generation you should see a window similar to the following:
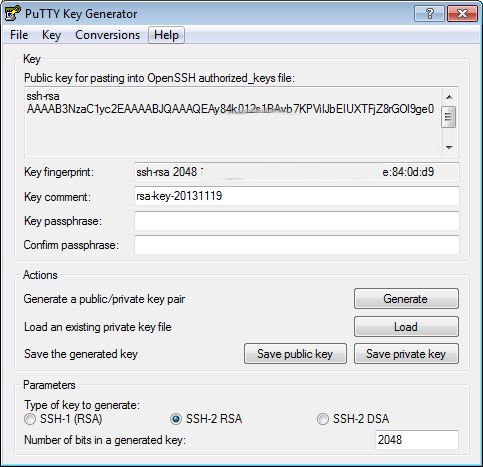
Now protect your SSH key with a passphrase. Type your passphrase in the
Key passphrase: field and confirm it in the Confirm passphrase: field.
The upper part of the window shows a public key which one can add to the list of (public) SSH keys on (for example) GitHub. Select and copy this text and paste it into the SSH keys part of your “Settings” page on GitHub (if you have a GitHub account). There is an equivalent process on Bitbucket for adding new SSH keys to your account profile so that you can access repositories hosted there (again, if you have an account).
Back in PuTTYgen , click on the Save private key button to save your
private SSH key to the local filesystem (never give anyone your private
key!). Save your private key file somewhere in your home directory, a good
name is simply putty (a filename extension will be added automatically
when saving the file).
Now we need to start the PuTTY version of the
ssh-agent of OpenSSH:
Pageant. Start Pageant by going to the Windows start menu and selecting
All Programs -> PuTTY -> Pageant.
An icon which looks like a computer wearing a hat should now appear in the Windows task bar at the bottom right-hand corner of the screen.
![]()
Pageant is a program which, after you’ve told it your passphrase, will handle all SSH communication for you, without you having to type in your password for each connection. So, instead of having to type in your password again and again, you only need to type in your passphrase once per login session. Note, however, that each time you start Windows (or log in) you will need to start Pageant and tell it your passphrase. Thus, to remove one step in this process, let’s set up Windows to automatically start Pageant at login.
Starting Pageant automatically at login
Having the SSH agent automatically set up for you such that you only have to enter a passphrase once each time you log in to your computer saves time and makes using Git much easier.
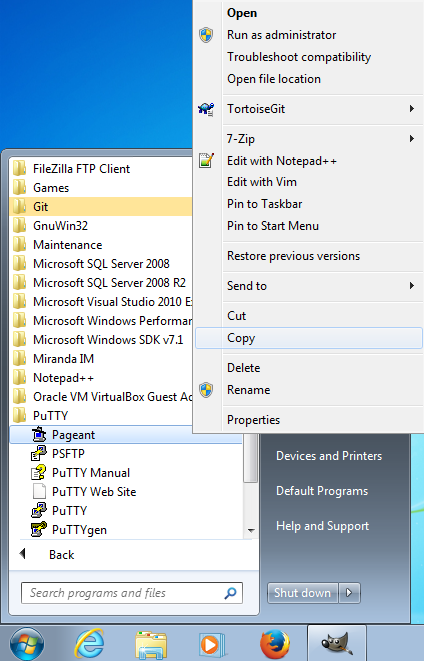
To start Pageant when you log in to Windows you need to add a shortcut to
the Startup menu folder. To this, go to the start menu and go to the
PuTTY folder (All Programs -> PuTTY); right-click on the Pageant icon,
selecting the Copy context menu item.
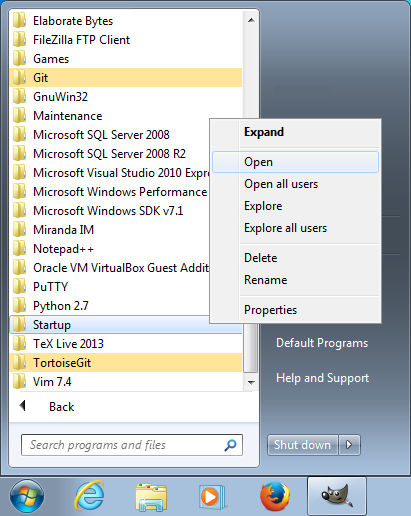
Now find the Startup menu folder by going to the start menu again (All
Programs -> Startup) and right-click on the Startup menu item and select
Open from the context menu.
The startup folder will now appear. Right-click in this folder and select
Paste Shortcut from the context menu.
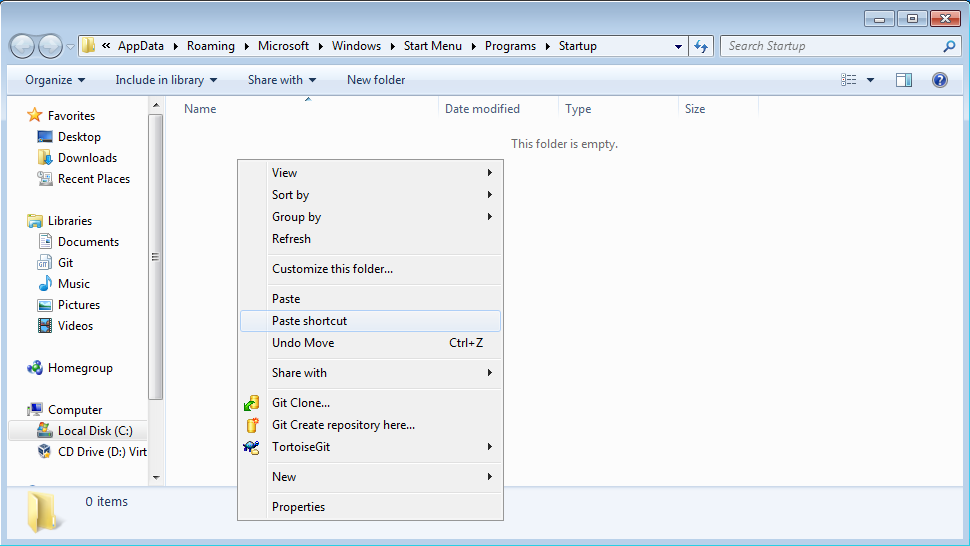
A shortcut icon pointing to the Pageant program will appear in the Startup
menu folder.
![]()
Now Pageant will start automatically when you log in to Windows.
Activating your SSH key
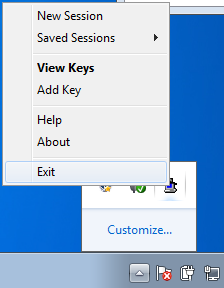
We now need to activate the SSH key by entering it into Pageant. In PuTTY we say we add the key to Pageant.
Right-click on the Pageant icon in the Windows task bar (at the bottom
right-hand side of the window) and select the Add Key menu item.
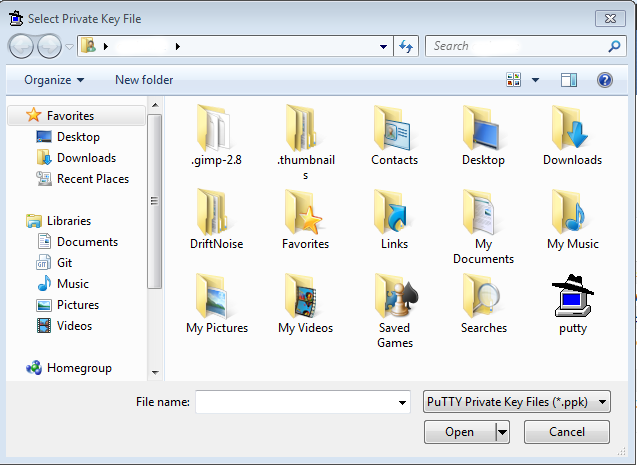
A window for you to select the private key should now appear. Double click
on the putty file icon (or whatever you called it in the earlier setup
step); remember it’s the one that looks like a computer wearing a hat.
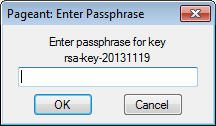
You will now be requested to enter your passphrase (remember, this only needs to be done once per session, e.g. when you log in to Windows, but not thereafter). Type your passphrase into the field in the window.
If you receive no errors, you can now access GitHub or Bitbucket without having to enter your password or passphrase.
Using Git and TortoiseGit
There is a wealth of information online about Git and how to use it. One of the first best places to learn is the free online Git book. This resource explains the concepts and processes in Git very well, and is well worth the read. It’s also free to read online!
Now let’s look at a basic TortoiseGit setup and some of the more common operations when using Git on Windows.
Basic TortoiseGit setup
Before using TortoiseGit in earnest, it is best to tell it your name and
email address (this is required by Git). You can check to see if this
information has already been added for you, or set it if it hasn’t already
been set by right-clicking in a Windows-Explorer window and selecting
TortoiseGit -> Settings from the context menu. A window similar to the
following one should appear:
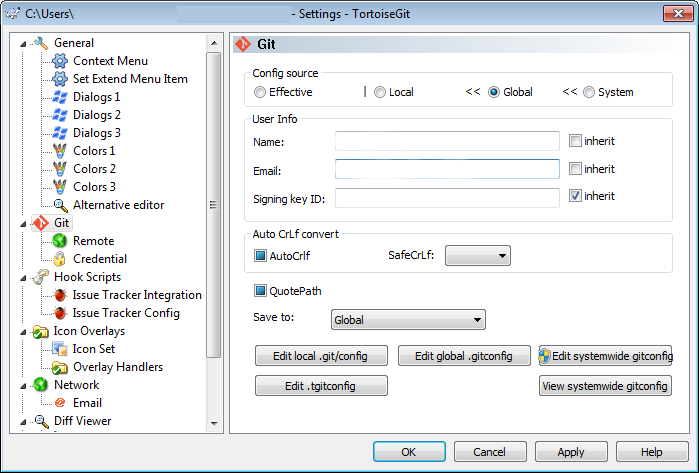
Enter your name and email address into the given fields (optionally
unchecking the inherit option if the text cannot be entered in the
fields). Click on OK to save your settings and you’re now ready to create
your first local repository or clone your first remote repository.
Creating a local repository
You don’t have to be connected to the internet to use Git: you can use it just for yourself on your own computer if you wish. Version control is a fantastic safety net and support mechanism for your daily programming work that you should use it even if you don’t intend to share your work with anyone else. A great feature of Git is that if you want to share your work with someone else in the future you can!
Let’s create a repository on your computer and start working with some of
the fundamental Git operations. To make this more concrete, let’s imagine
that we’re writing an journal article in LaTeX. Since LaTeX is plain text,
and it’s likely that you’re going to be wanting to make changes to your
document and possibly want to see older versions of the document, Git is a
very good choice for this kind of thing (i.e not just for program code). To
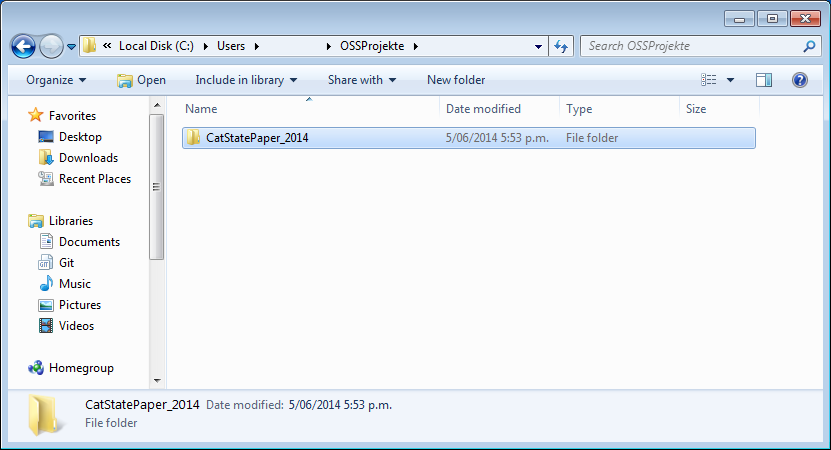
start, create a new folder in your home directory called
CatStatePaper_2014 [1].
Go into the new folder, right-click in the window and select Git Create
repository here... from the context menu.
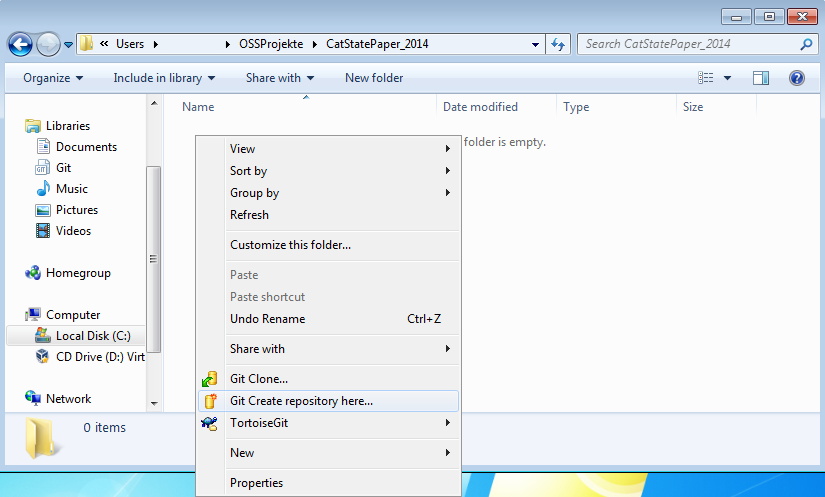
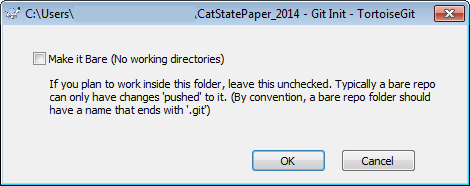
A window will appear asking you if you wish to create a bare repository.
You do not want to do this, so simply click OK.
A confirmation window should appear to let you know that everything went smoothly.

This has created our repository; there’s nothing much to see here just yet, so let’s create some content and add it to the repository.
Adding a file to the repository
Open your favourite text editor (e.g. Notepad++ or the TeXWorks editor that comes with TeXLive) and paste in the following text snippet:
\documentclass[12pt,a4paper]{scrartcl}
\begin{document}
\title{Cat States in today's world}
\author{John Smith}
\date{\today}
\maketitle
\begin{abstract}
\end{abstract}
\section{Introduction}
\section{Conclusion}
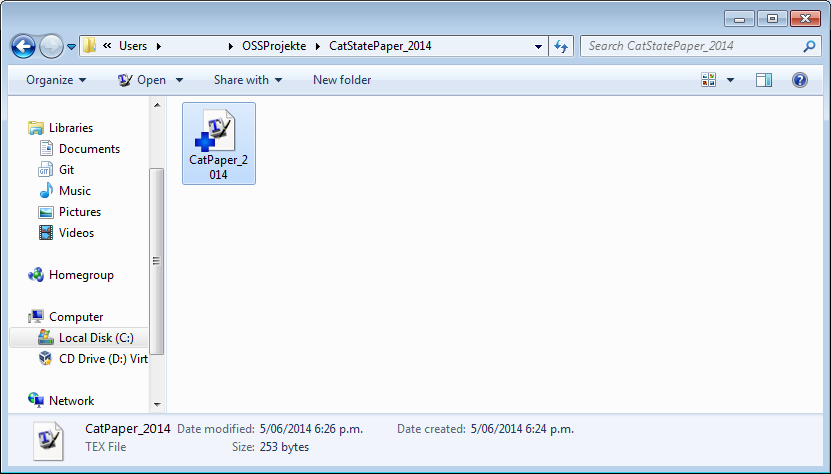
\end{document}Save this text as CatPaper_2014.tex. A file icon will appear in your
folder window with a question mark in a blue circle:

The symbol on the file icon tells us that Git doesn’t yet know about this file, however has noticed its presence.
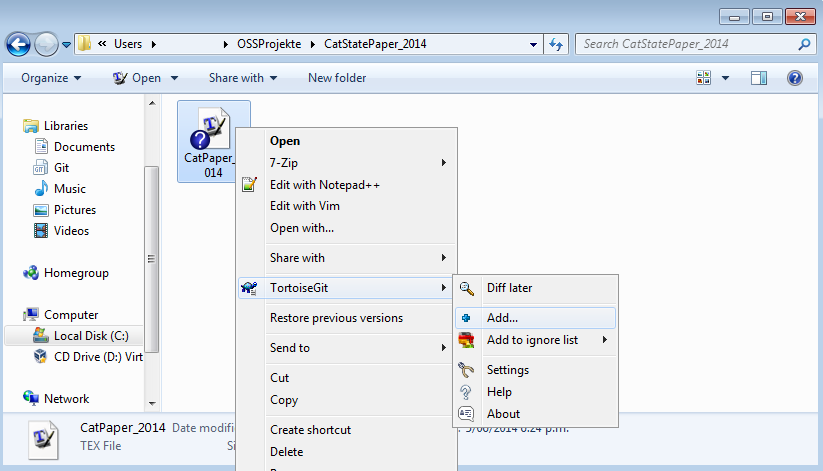
We now add this to our repository by right-clicking on the file icon and
selecting TortoiseGit -> Add....
A window will appear to confirm the files you want to add; something like this:
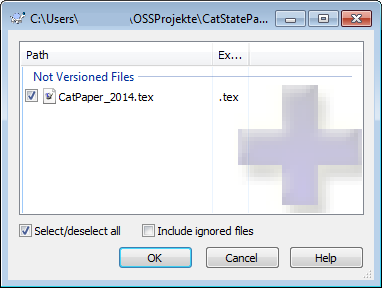
After clicking OK to confirm the operation, a window appears to tell you
that the add operation has finished.

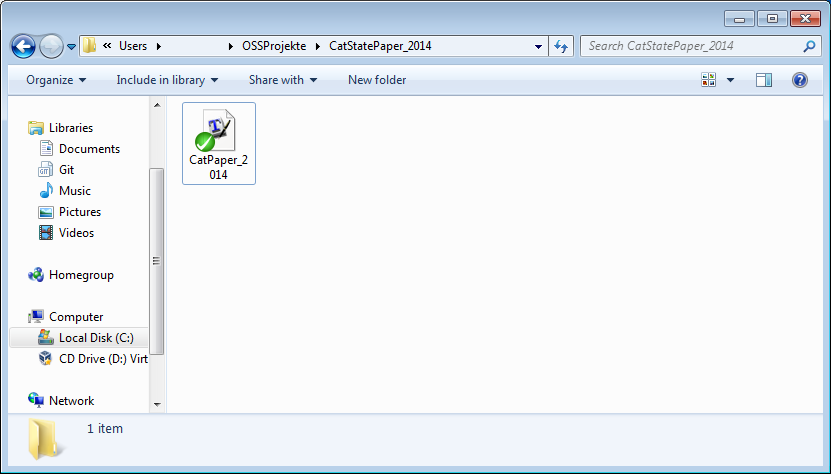
Click OK again and you should see that the file icon now has a blue
plus-sign on it.
This means the file has been added to the repository (which is a way of telling Git that we want it to track this file). We now need to commit this change to the file in order to save its current state to the repository.
Committing a file
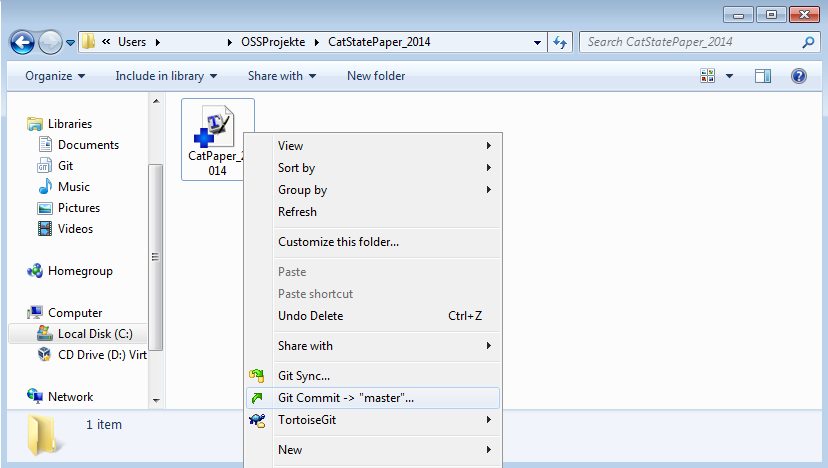
Right-click on the file icon and select Git Commit -> "master"...
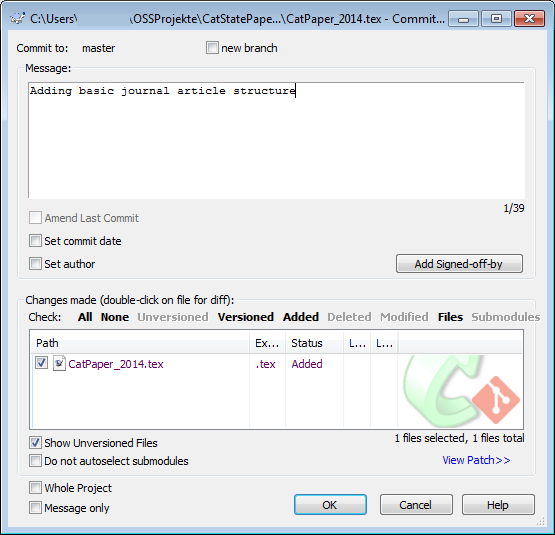
A window appears where you can enter a commit message for your commit. This is a very important step as you are now writing the history of your project, so it’s a good idea to write a short but descriptive explanation of what is changing and why. You can use this information in the future when you’re trying to find out when something happened, so be nice to your future self! Here we explain that we’ve set up the basic paper structure.
Click on OK and a window should appear to tell you that the commit was
successful.
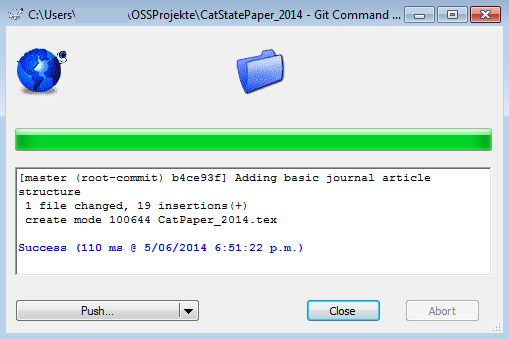
Click on Close and you should now see that the file icon has a green tick
on it.
This means that the file has been committed to the repository, there are no pending changes and that all is well.
If we edit the file again, adding some text to the abstract…
\begin{abstract}

We show how macroscopically distinct quantum superposition states
(Schroedinger cat states) may be used as logical qubit encodings for the
correction of spontaneous emission errors. Spontaneous emission causes a bit
flip error which is easily corrected by a standard error correction circuit.
The method works arbitrarily well as the distance between the amplitudes of
the superposed coherent states increases.

\end{abstract}
and save it, we should see that the file icon has again changed, this time it has a red exclamation mark on it:
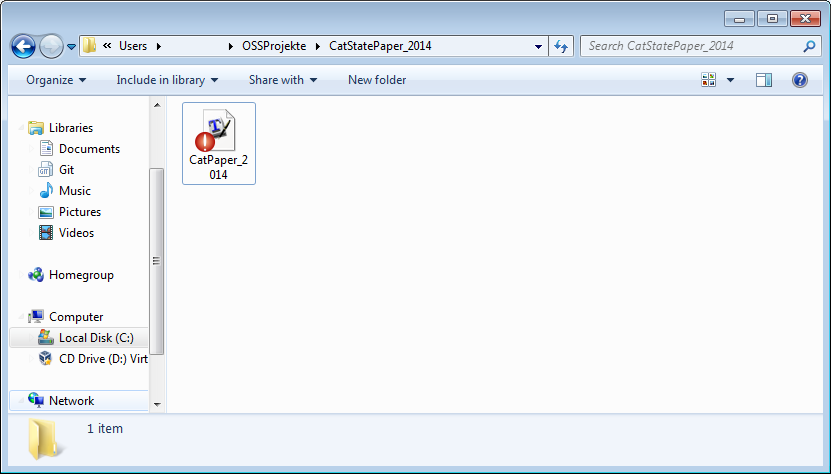
This tells us that the file has changed and that we should commit it again. It is a good idea to commit small, self-contained changes to files, as this makes it easier for us in the future to see what happened. Another way of putting this is that it’s much easier to analyse small file changes e.g 20–30 lines than it is to analyse 500 lines of changes.
We can now go through the same process of right-clicking on the file,
selecting Git Commit -> "master"... and writing a nice commit message:
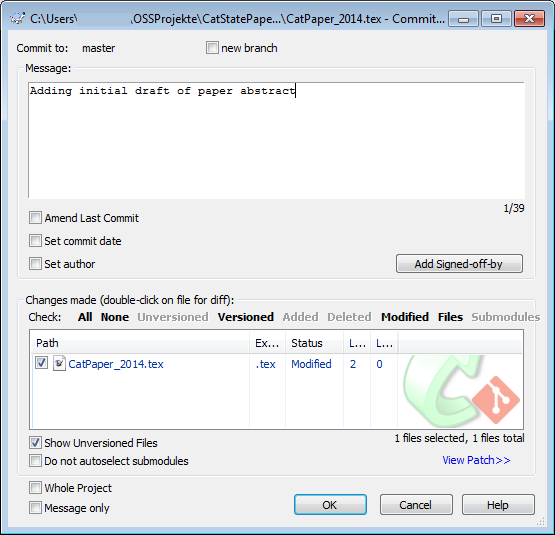
One merely repeats this process of making bite-sized changes and committing
them and Git happily stores away these changes so that you can visit them
again later. Have a look around within the TortoiseGit context menu and see
what else there is you can do. Also, try looking at the Show log context
menu option to see what your file history looks like.
Note that this has all happened on the local computer, i.e. directly where you are. Now we’ll see how to clone a remote repository, i.e. a repository residing on a server in the internet.
Cloning a remote repository
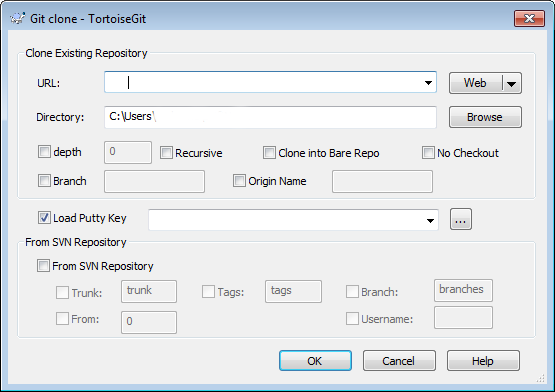
To clone a Git repository, one merely needs to right-click inside a
Windows-Explorer window and select TortoiseGit -> Git Clone from the
context menu. The Git clone window will now appear and should look
similar to this:
As an example, we’ll check out the repository containing the source files for a project I’m running with an ex-colleague. We’re developing courses teaching version control systems (specifically Subversion and Git) and the slides for the courses are available on GitHub: https://github.com/paultcochrane/version_control_course.
To clone this repository, go to the URL field and enter the following
text:
git@github.com:paultcochrane/version_control_course.git
Click on OK and the repository will be cloned from the GitHub server to
your computer. It will create a new folder within the current folder with
the name version_control_course. If you have LaTeX installed, you can
generate the slides by building the relevant LaTeX file in one of the
directories.
Conclusion
That’s it! Now you can happily check out projects from GitHub or Bitbucket (or any other Git server) and contribute to them by making changes, committing them to your local repository and then pushing your changes to the remote repository on the server. Enjoy!
[1]: “Cat” states are macroscopically distinct quantum superposition states which can generated by light or quantum mechanical states of matter. They are named after the famous “Schrödinger’s Cat” thought experiment.